 There are not many things I love to eat more than ice cream. I come from a long line of passionate ice cream consumers, specifically my two grandmothers. On my Belgian side was Mamy, who would treat me to a sundae called une Dame Blanche on pretty much a daily basis when I spent childhood summers with her in Brussels. Every cafe has them on the menu and it consists of several scoops of vanilla ice cream topped with melted chocolate, fresh whipped cream, and a flaky cookie in the shape of a hollow tube speared through the top. Mamy also made her own fresh fruit sorbet all summer long, using berries from my uncle’s farm. She made frais de bois (wild strawberries) and framboise (raspberries), but by far my favorite flavor was when she made cassis (black currants), a dark red-purple confection that was both intensely sweet and tart at the same time.
My American grandmother always had a freezer stocked with a tub of Breyer’s ice cream in the trifecta of vanilla, chocolate, and strawberry. She had eight children and about three times as many grandchildren, but there was always a bowl of ice cream ready if you asked, and she would always have a bowl with you at the kitchen table.
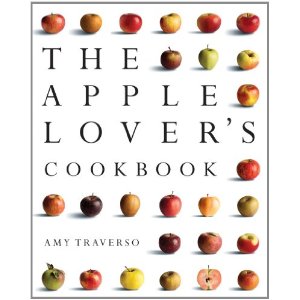
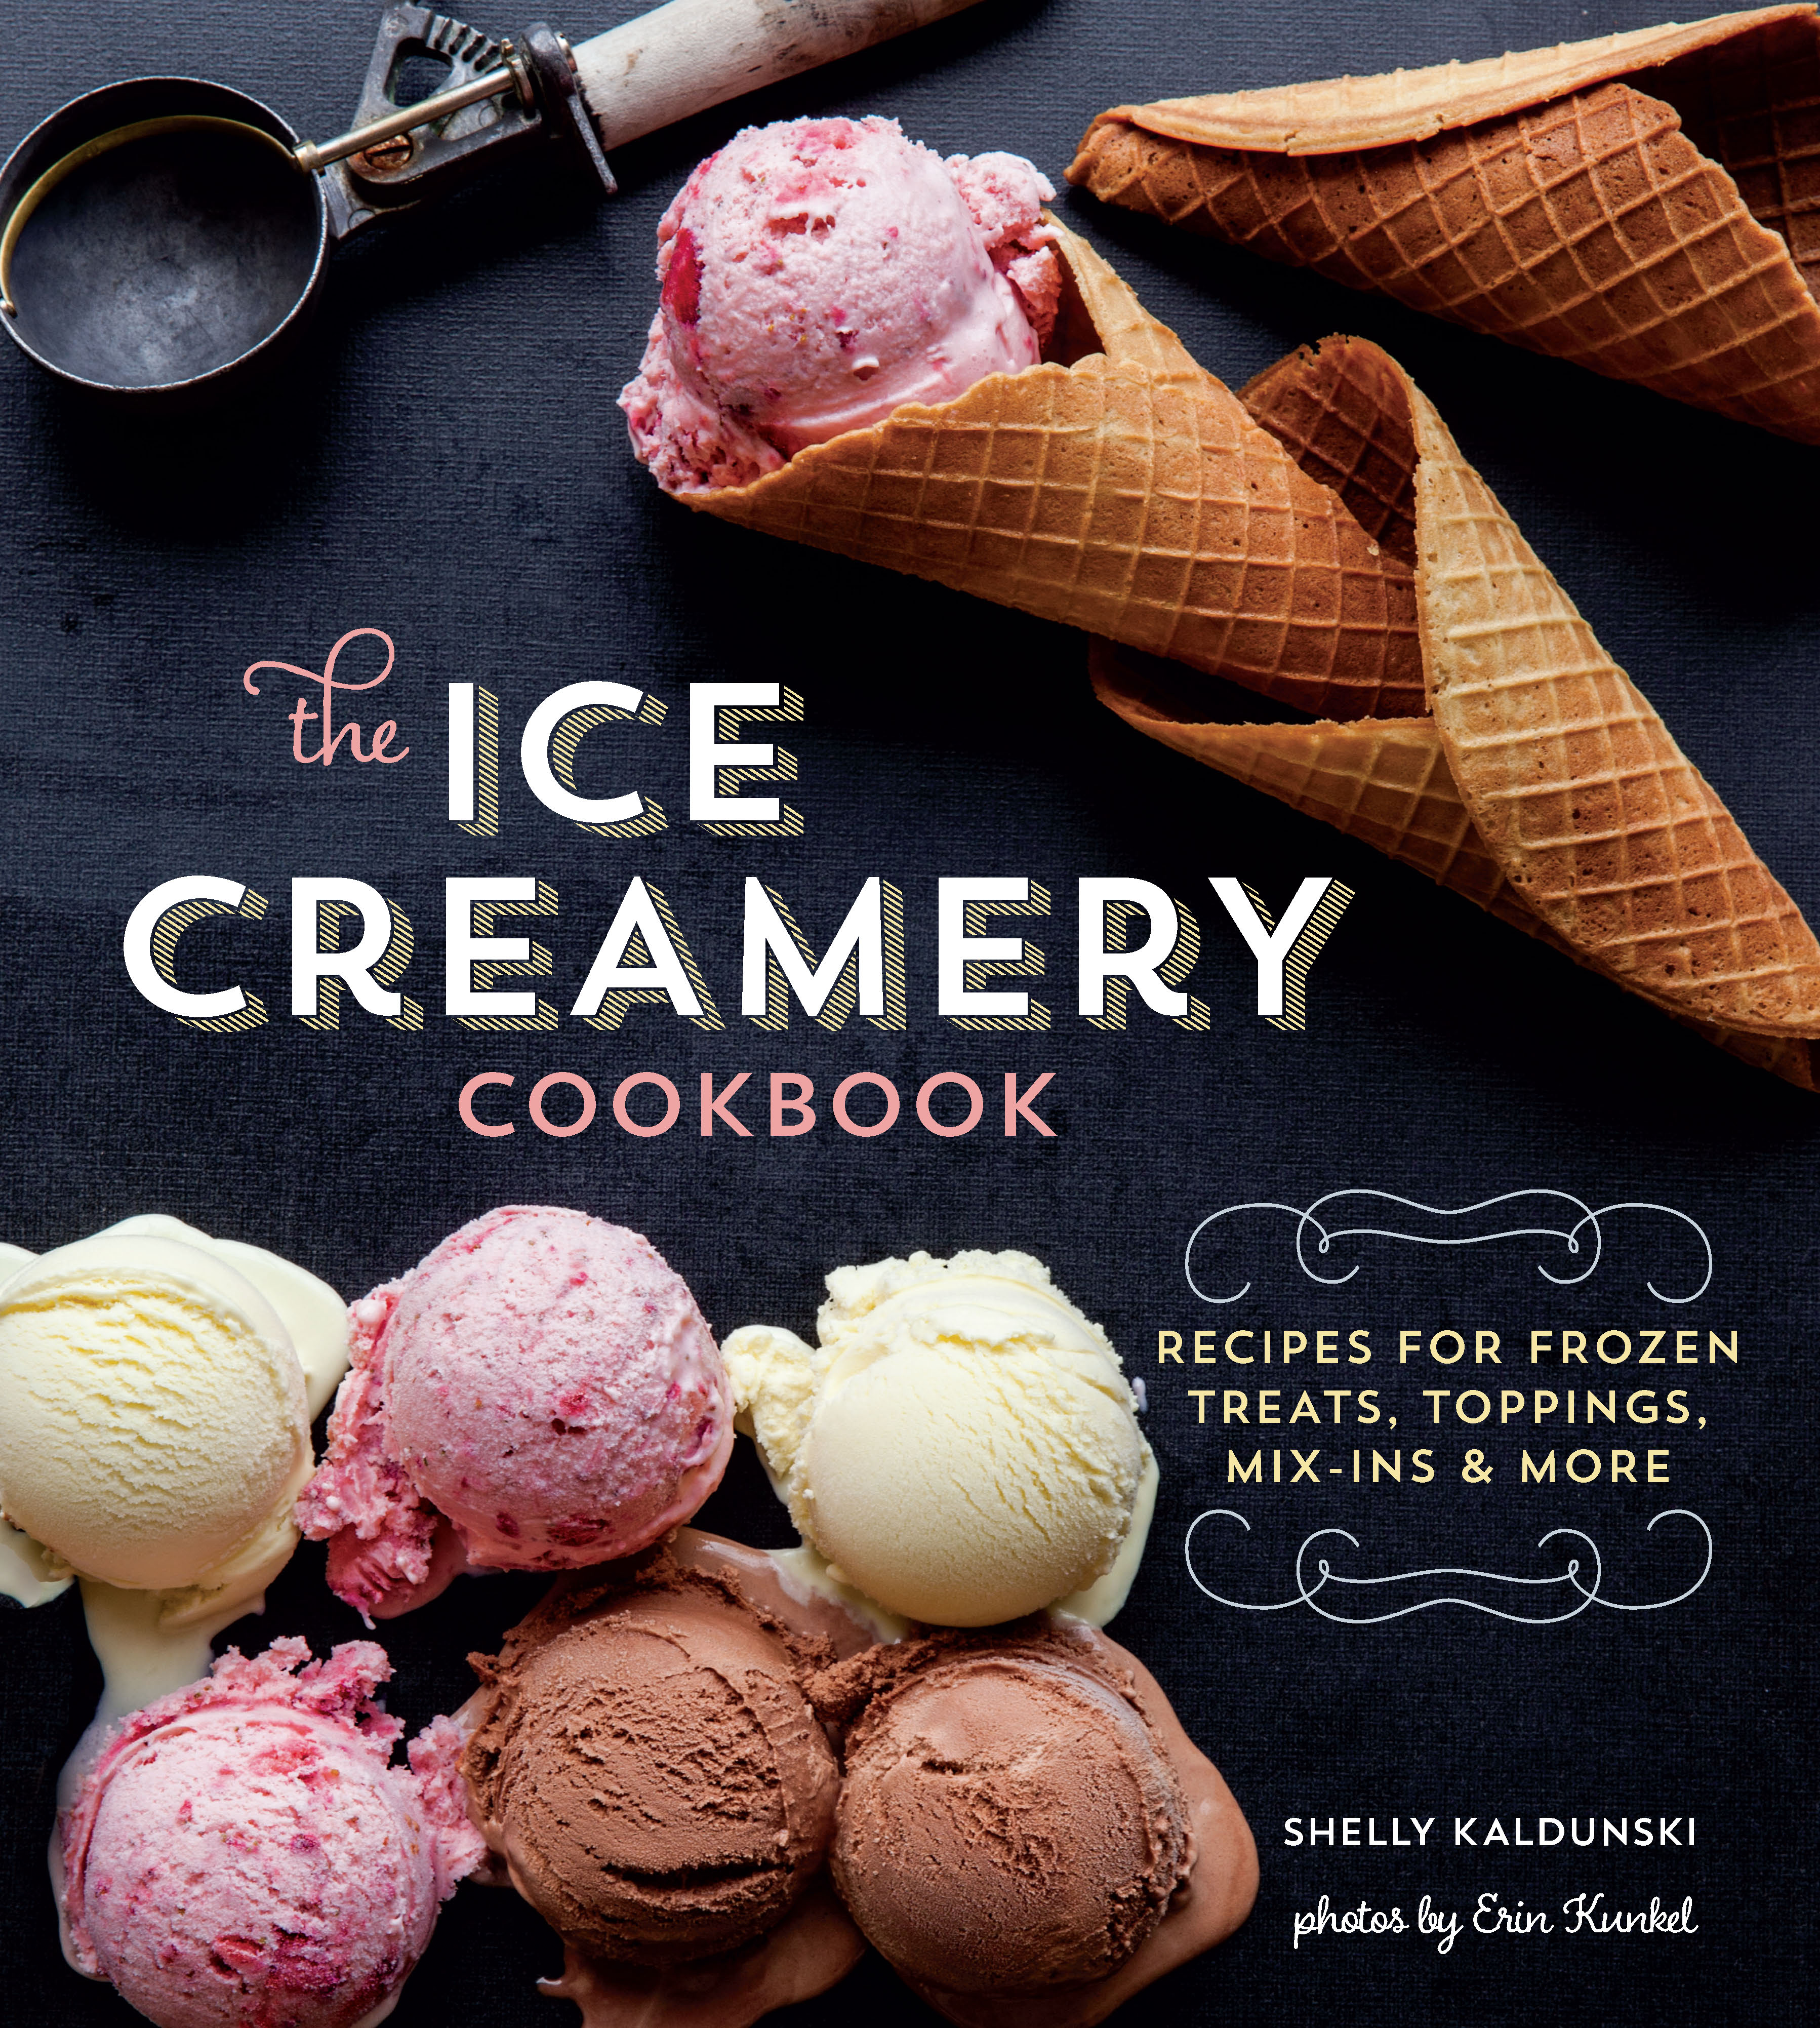
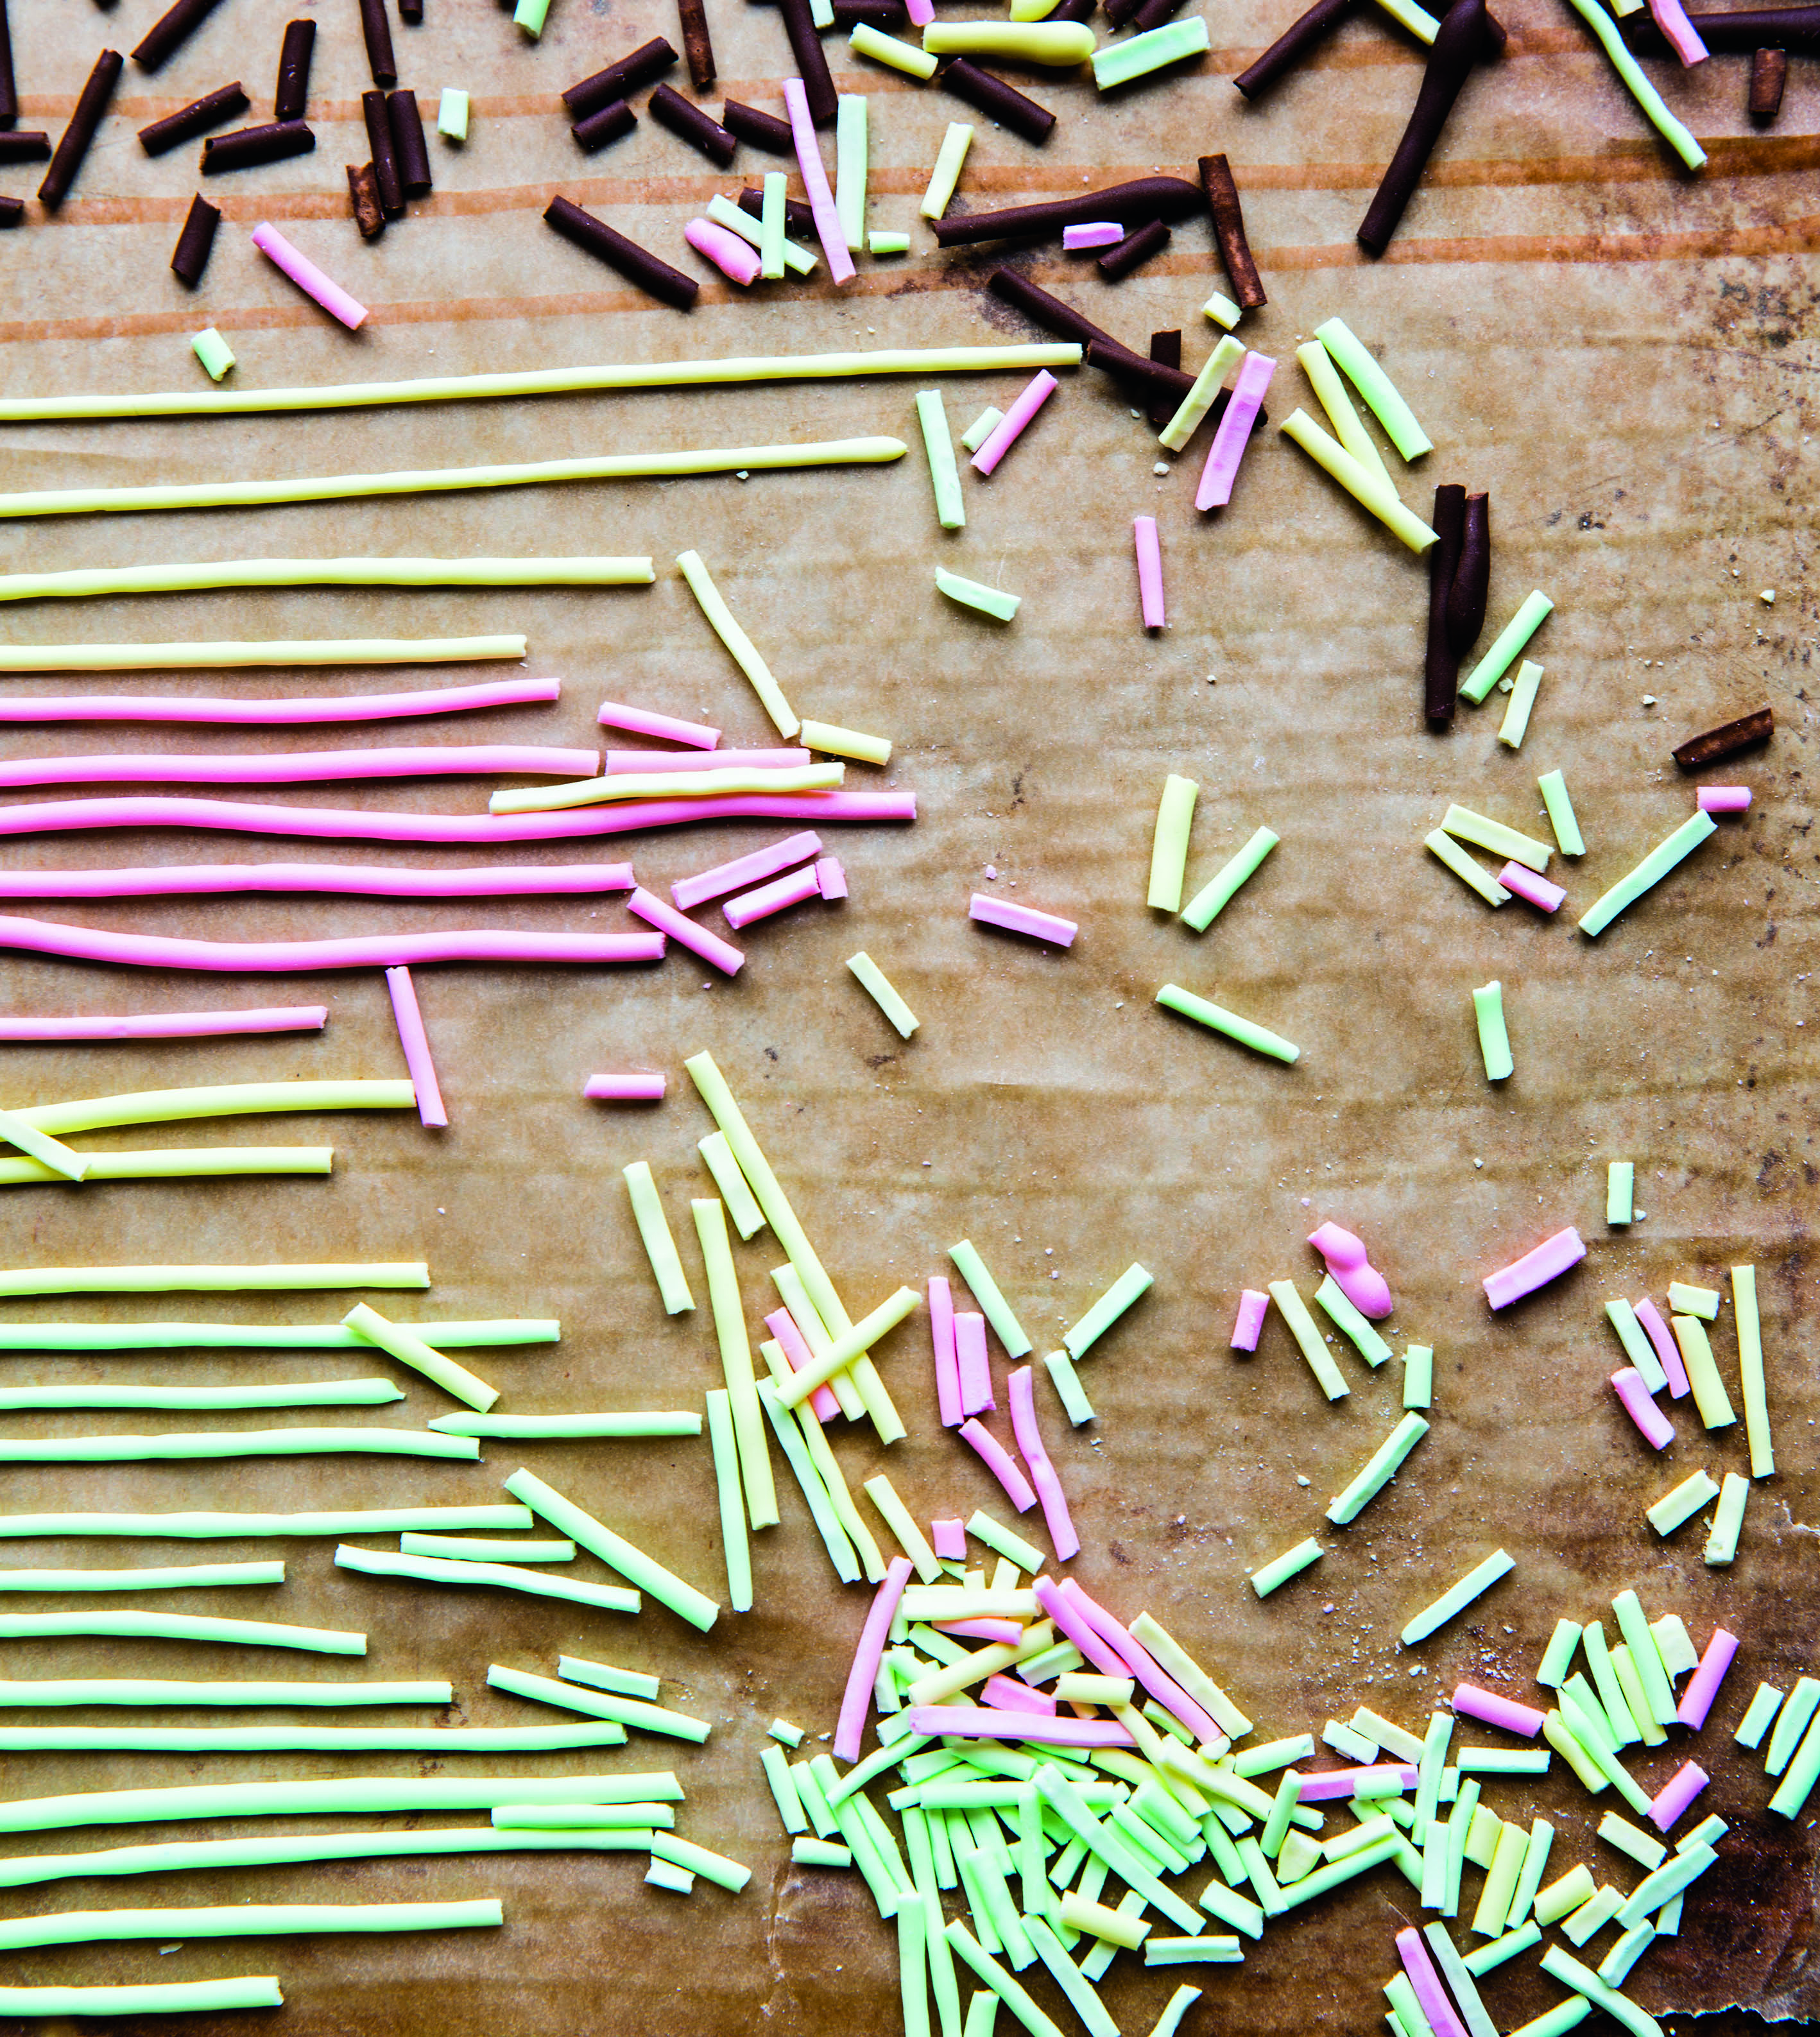
So it’s in this tradition that I love to keep my own freezer stocked with ice cream treats, particularly in the summer (although I’m of the school that ice cream could and should be enjoyed all year round). Our family has a bit of a thing for Klondike bars (crunchy and dark chocolate variety), lime popsicles, and Haagen-Dazs coffee bars; but when I’m feeling ambitious I also love to make my own. Which is why I was thrilled to receive this new wonderful book: The Ice Creamery Cookbook by Shelly Kaldunski. Even if you think you have nothing left to learn in the ice cream department, this gorgeous guide will prove you wrong. There are not only recipes for flavors and concoctions I want to make immediately—pomegranate granita, mango-ginger sorbet, salted peanut butter & jelly ice cream—but even better are confections and toppings, like how to make your own sprinkles! To tell you the truth, I had never even thought to think “what exactly is a sprinkle?”, let alone how you can make them from scratch, but you can and this book shows you how…see how pretty?
 The publisher, Welden Owen, has been kind enough to let me share the recipe for scratch-sprinkles with you here on Devil & Egg, so that you can make them at home. Perhaps it will be the perfect rainy summer-day kid project or something to wow you 4th of July guests? And the book is also on-sale now if you want more wonderful recipes for frozen treats, toppings, mix-ins & more. Enjoy!
HOMEMADE SPRINKLES
To make sprinkles, all you need to do is to whip up a batch of old-fashioned royal icing (commonly used for decorating cookies), pipe it into thin strands, and then let them set. Use gel paste, rather than liquid food coloring, if possible, as the colors will be more vibrant and you will not thin the icing as much.
MAKES ABOUT 1â„2 CUP (1 OUNCE), ENOUGH TO TOP ABOUT 12 SUNDAES
2 cups confectioners’ sugar, sifted
11â„2 tablespoons meringue powder
1â„4 teaspoon extract such as vanilla or almond (optional)
Food coloring, preferably gel paste type, in color(s) of choice (optional)
Line 2 baking sheets with parchment or waxed paper.
In a bowl, combine the sugar, meringue powder, 3 tablespoons warm water, and the extract, if using. Using an electric mixer on medium speed, beat until the mixture is fluffy yet dense, 7–8 minutes.
If you are making sprinkles of different colors, divide the icing into as many small bowls as colors you will be using. If using gel-type coloring, twirl a toothpick into the gel and then twirl the toothpick into the icing until the color is evenly mixed. If a deeper shade is desired, add more gel, a tiny bit at a time. If using liquid-type coloring, add 1 or 2 drops to the icing and mix well, then add additional drops as needed to achieve the desired shade.
To test if the icing is a good consistency for piping, scoop up a spoonful and drizzle it back into the bowl. It should remain in a ribbon on the surface. To thin the icing, using a rubber spatula, stir in warm water, 1â„4 teaspoon at a time.
Spoon the icing into a pastry bag fitted with a 1â„8-inch plain tip. Pipe the icing in straight lines onto the prepared baking sheets. Let the icing dry at room temperature until crisp, about 24 hours. Using a knife, cut strands into desired-size pieces. Use right away, or store in an airtight container at room temperature for up to 1 week.